File preparation
If you are new to Riso please don't hesitate to reach out if you have any questions. We offer a file set up service if some of the steps are not accessible to you.
-
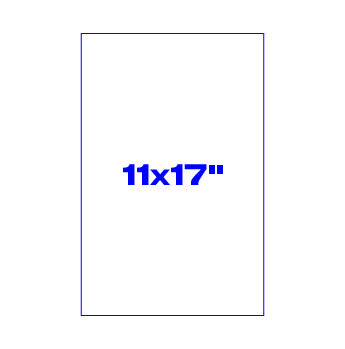
Paper Size
11x17" is the maximum paper size for Riso. We print almost all of our projects using this format.
-
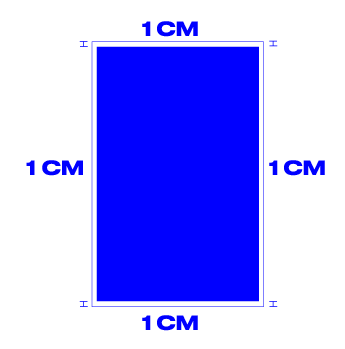
Printing area
Leave a 1 cm blank border on all sides. The printer will cut off images past this border
-
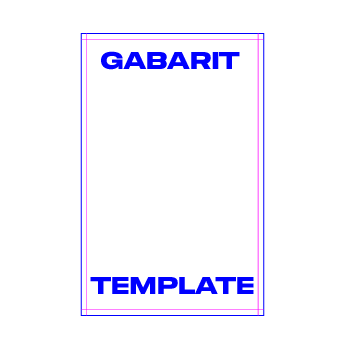
Templates and guides
See templatesDownload our 11x17 template to make sure you have the printing area right
-
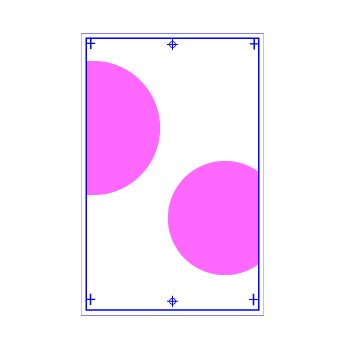
Bleed
All artwork bleed must be included inside the printing area.
-
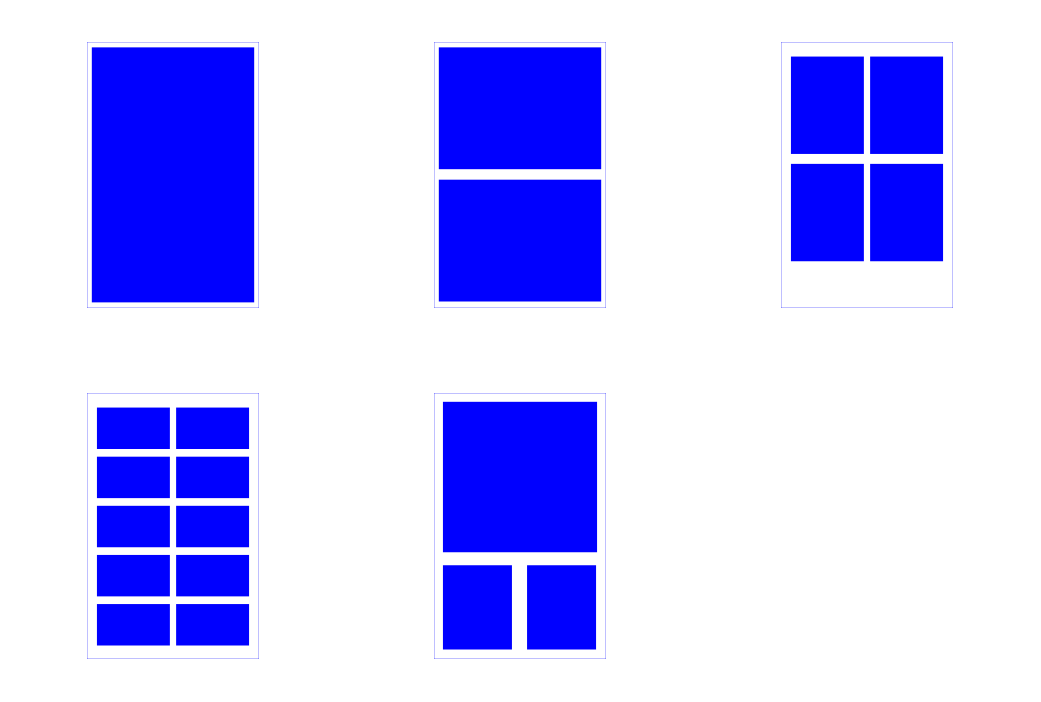
Quote
We print everything on 11x17 sheets. We base our quotes on the amount of colors in use, the quantity of 11x17 needed to complete the project and the paper type. You can fit one project or multiple different prints on the same sheet. Optimize your project size to save cost.
-
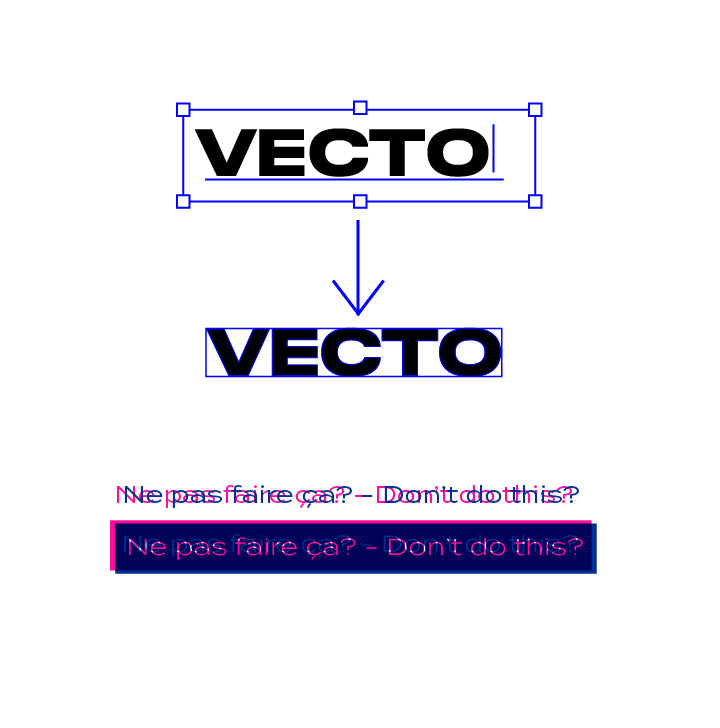
Text Rules
It's best practice to create outlines or vectorize your text before creating your print files.
Avoid overlaying text and use only one color. Due to the variation in alignment, the text might not be readable. Unless you like the style of course! :)
-
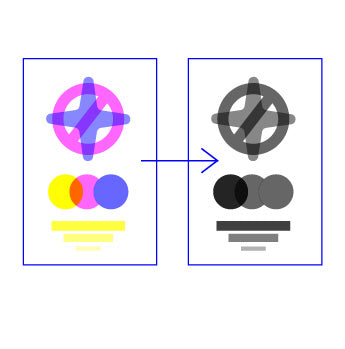
Set to black
Color separation TutorialPlease see our color separation tutorial for this step. Once you're ready to make your print files, separate your colors while making sure they are in the correct black value.
-
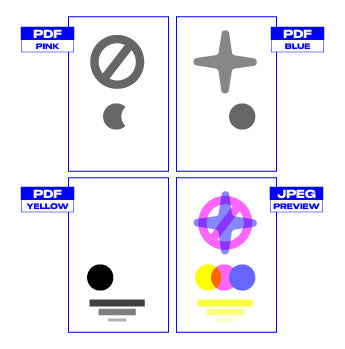
Print files
Send us a separate pdf for each color layer. Name each one by color. Ex: yellow.pdf, blue.pdf and pink.pdf. Make sure they are in the right black and grey values. Include a full color jpeg of your artwork so I can get an overview of your project.
-
PDF format
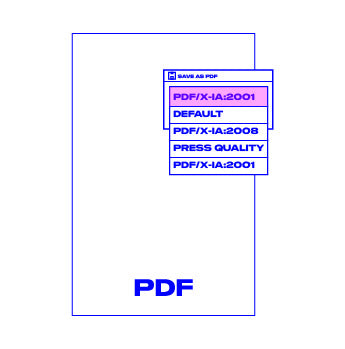
When saving your pdf please select the pdf/X1a:2001 option. This reduces the size of the file while retaining the quality plus it's less prone to file errors. Make sure you disable the preserve editing capabilities checkbox.
Color separation tutorial
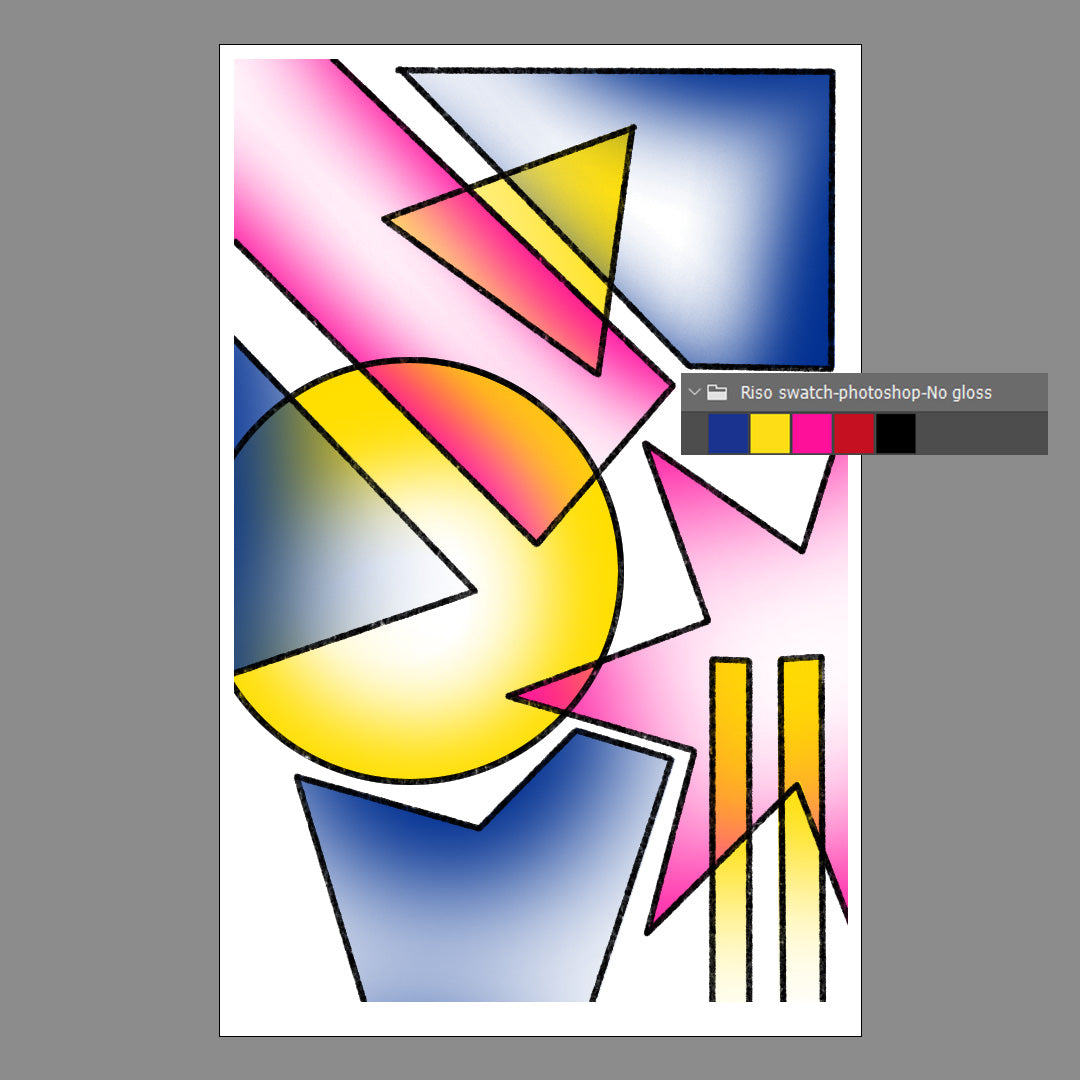
Learn how to create your file with Riso colors and export your work for printing using photoshop


